Introduction
- There are several tools within the Transform Menus which allow you to distort the image in different ways.
- See the Adobe Help Page on Transforming Objects.
- When you Transform an object you can lose pixels, especially if they are made much smaller. You can convert the image to a Smart Object first to prevent this.
Free Transform
- Activate the Free Transform Tool by using the keyboard shortcut CMD + T. This adds corner points to the selection which you can then move around with the Pointer to distort the image.
- Drag the handles on the sides or corners to resize the selection. Holding down the SHIFT key keeps the proportion constant.
- Dragging from outside the selection rotates the selection. Holding down SHIFT limits the rotation to 15 degree steps.
- Press ENTER to confirm the selection, or ESCAPE to quit from it.
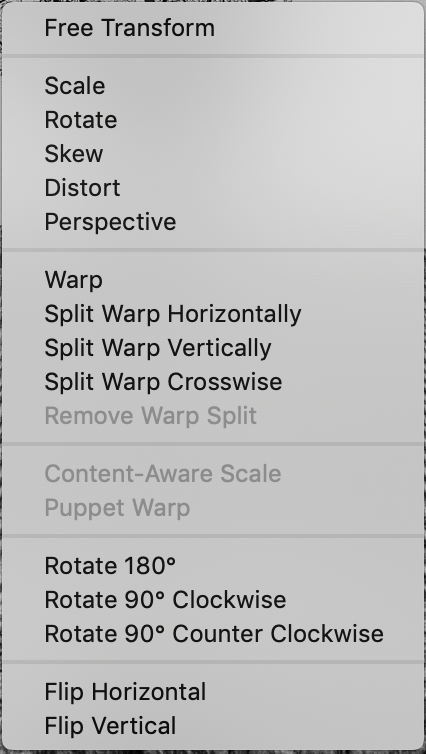
- Right clicking on this selection gives the other options as listed below.
Other Transform Tools
- You can then access the other Transform Tools by right clicking the image when you have already activated the Free Transform Tool, as above, (First image) or you can get the same list of tools by going to the Menu and clicking Edit > Transform (Second Image).
-
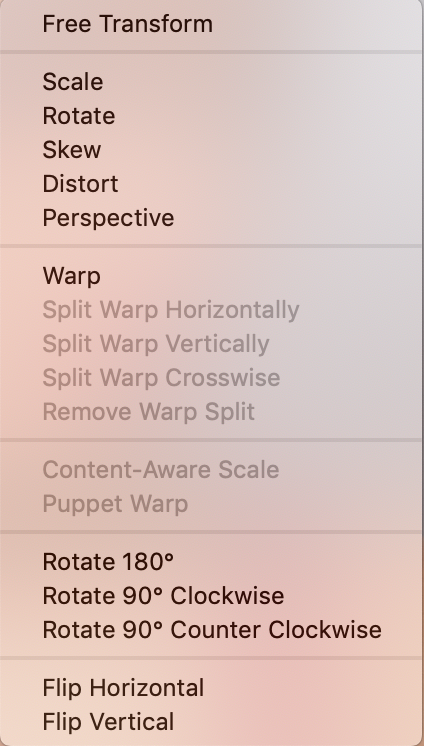
Transform
- The Transform option listed in the menu lists the other options, which is the same as using Free Transform and right clicking on the selection.
- CMD + T gives a bounding box.
- Moving the curser near to a point on the outline changes the curser to a two headed arrow, which when straight will change the size of the selection, and when outside the selection but near the corner changes to a curved arrow which will then rotate the image. Then CLICK + DRAG moves the selection while keeping the proportions of the selection.
- CMD + DRAG will warp a corner out of square.
- SHIFT + ALT warps corners to mirror each other if one corner is already selected. (Can’t get this to work)
- CMD + ALT warps opposite corners as a parallelogram.
Rotating The Image
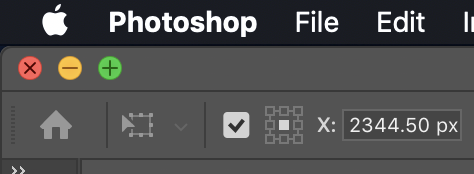
- Clicking on the unlabelled checkbox on the Top Panel shows the Rotation Point, which you can move. The image rotates around this point when you move the curser outside a corner and drag the image around.The box on the right lets you click the different areas to move the rotation point there.
- If you hold the SHIFT ket while rotating it will jump in 15 degree intervals.
Other Options
- Scale
- Rotate
- Skew
- Distort
- Perspective
- Warp (Including Split Warp)
- Rotate 180º
- Rotate 90º clockwise
- Rotate 90º Counter Clockwise
- Flip Horizontal
- Flip Vertical
Warp (Including Split Warp)
- Selecting the Warp Tool allows you to use the Move Tool to drag around points on the image and warps the image around the point to drag from.
- If you Right Click within the Warp Tool you now have another menu which allows you to select options to add one or more control lines to split the warp into sections which allows you to just apply the warp to a specific section of the image.
- How to Use Split Warp in Photoshop 2020 - Video by Aaron Nace.