Location
- Photoshop > Windows >
Shortcuts
- CMD + CLICK loads the Path as a selection.
Options at the Bottom
- Fill Path with foreground colour
- Stroke Path with brush
- Load Path as a Selection
- Make work path from selection. This can be used to create a selection with editable points from a Lasso or other vector tool.
- Add a Layer Mask
- Create new path
- Delete current path
If You Right Click on a Path
If you chose Stroke Path, you can then chose and tool to use, and simulate pressure low to high to low.
Location
- Windows > Find Items on Adobe Exchange >
Adobe Exchange
- It is a website with a link from the Windows > Find Extensions on Exchange.
- Installed Extensions are below it, listed under Window > Extensions.
- This is like the App Store for Photoshop, with some free and some paid extensions.
- Once loaded these appear as a list at the bottom of the menu.
- View your downloaded extensions online as My Add-ons, which is also available as a link from your personal Adobe login page.
Recommended
- Adobe Paper Textures Pro (free) - See Textures
.
Location
- Photoshop > Menus > Window > Extensions
Links
- Techniques > Colour Manipulation > Colour Toning
Introduction
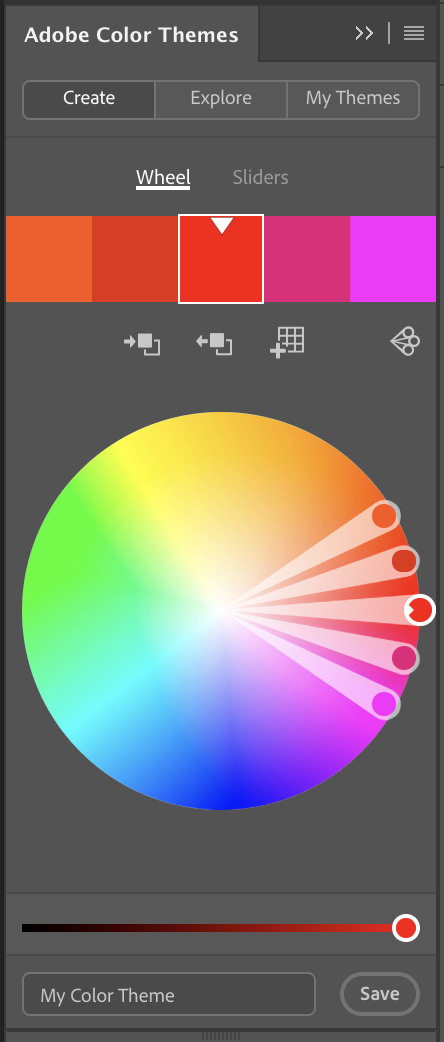
- Adobe Colour Themes is a built-in Photoshop Extension for creating and saving Colour Themes, which can then be applied to images to Colour Tone them.
Use
- To open the panel go to the top menu section in Photoshop and click on Window > Extensions > Adobe Color Theme.
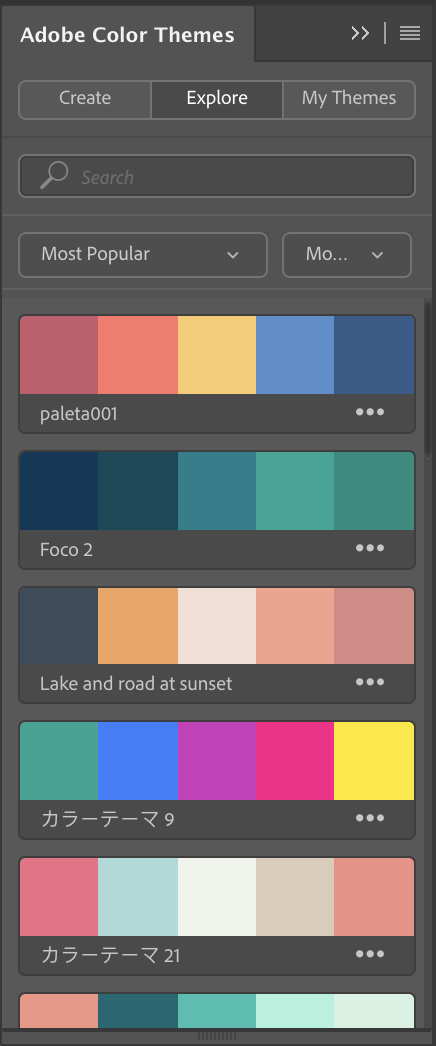
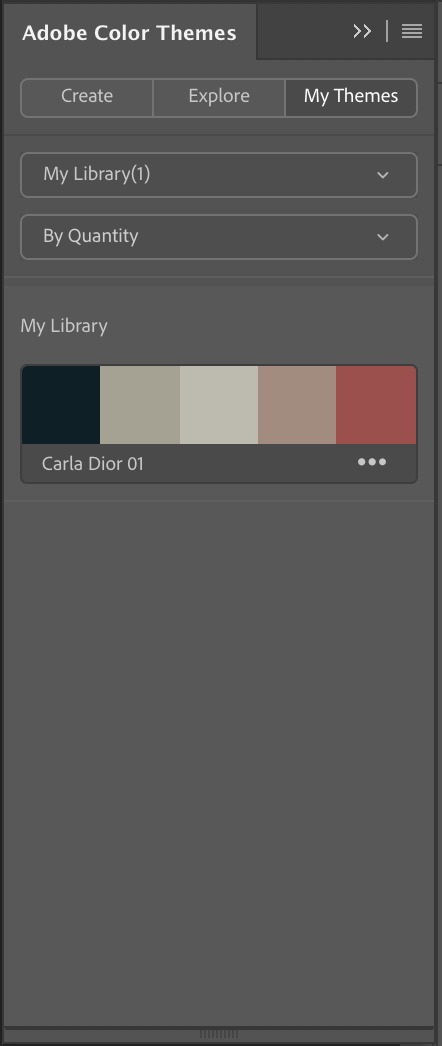
- Here are the default settings, clicking on each of the three tabs, though I have already created and saved one theme of my own.
- Using the Colour Themes is rather clumsy as the colours have to be transferred into a Gradient Map, and there is no automatic import, so you have to do this manually.
- Below the saved colour swatches, clicking the three dots to the right of the colours opens the options, such as adding them to swatches, or use a selective screen grab and sample as you can’t use the colour picker directly from this.
- Once the colours are in your Gradient Map the image will look awful. Change the Blending Mode to Softlight, Overlay or Colour for a better effect, and then reduce the Opacity of the Layer to soften the overall effect.
Tutorials
- How to Use Adobe Colour Themes in Photoshop for Colour Grading with Gradient Maps - Video by f64 Academy.
- Using Adobe's Kuler Tool to Colour Tone Images - Article by Fstoppers.
Adobe Colour CC
- Adobe Colour CC is the online version of this tool, which is opened automatically by clicking View Online after clicking the three dots under each swatch. You can view, create, download and uploaded colour palettes, and create your own from the colour wheel or by uploading a photograph and extracting the colours from that. This is a very powerful feature for creating colour themes from an image you like.
- Adobe Kuler was the original name for this but it is now called Adobe Colour CC and is part of as part of Adobe Creative Cloud.
- Colour themes can be saved in your library online and this is automatically added to your Adobe Colour Themes Library in Photoshop.
ColourmapX
A more quicker and more elegant way of creating a colour palette from an image is to use ColourmapX by Nino Bastita. This is a Photoshop Plugin which is easy and quick to use, and where you can select how many colours to want to choose from the image.
Links From
Location
- Photoshop > Windows >
Introduction
- Each image in Photoshop is made up of three separate colour channels, red, green and blue, and each of these is shown as a black and white image in the Channels Window, together with the combined colour image as RGB (Red, Green and Blue). This can be particularly effective in selecting fine detail such as hair.
- Channels can be used to create masks where there is a good brightness difference between white and black in one of the channels, and for a colour image the three channels can look quite different.
Information
- While in Channels click the mask icon and it creates an Alpha Channel, which is a luminosity mask above 50% grey. You can invert this alpha channel but deselect the selection first, otherwise only the selected area is inverted. 01, Phlearn duplicates the best mask first and uses this.
- The simplest mask selects everything over 50% grey and paints it as black within a white layer mask. Go to Channels and CMD + CLICK on any channel, then it will form this selection. Click on the mask (???) to add the selection. If you create an adjustment layer, then the mask will come with the selection added automatically.
- CMD + SHIFT + CLICK to select highlights above 75% grey. To select the darker 50% or 25%, first select the bright one, then Invert the selection (CMD + SHIFT + I). 01,
- This selection from Channels remains active when you switch back to Layers, and will be visible as a selection when you click on an image layer. If you create a Mask, then the selection will be automatically applied to the mask.
- Remember that Channels show the current image details. You may find that disabling some layer masks or temporarily emphasising some aspects of the image can help you produce a better mask.
Using a Channel as a Layer Mask
- Never edit the original channel as it will permanently destroy that part of your original image.
- Always make a duplicate copy of a Channel first and edit the copy
- To duplicate a channel drag its Layer Icon down to the Create New Channel Icon, or highlight it and click the Circle in the bottom of the toolbar.
- Channels can be treated and edited in just the same way as Layer Masks. See Editing Layer Masks and Channels for more information.
Turning a Channel Into a Selection
- To turn a channel into a selection click CMD + CLICK on the channel, or click the ring of dots at the bottom of the Channels Window. This always selects the lighter areas. Invert the selection with SHIFT + CMD + I.
Creating Luminosity Masks from Channels
- Making a Selection from a Channel allows you to select certain luminance (Brightness) values from the image. This technique can be further refined to select specific values of brightness and use these as masks. See Luminosity Masking.
